;'>ClevelandWebDeveloper.com</span><br>I enjoy designing and developing websites and have been doing that for 20 years. I also make WordPress plugins.")
Customize Menus in WordPress
This beginner’s tutorial is intended to teach you how to customize menus in WordPress. It assumes no knowledge on your part, beyond the fact that you have thus far managed to set up your own WordPress site.
Background info: Menus vs Theme Locations
I think that people sometimes get confused with the difference between a theme location for a menu and the menu itself – at least I know I did at first. Here is a breakdown:
Menu Theme Location: This is simply an area that has been created by your theme developer where it would be appropriate to put a menu. It does not refer to the menu itself.
Menu: A menu is the thing that you want to create, with helpful links to all the sections of your site where you want to direct your visitors. After you create your menu, you will assign it to the appropriate theme location (see above). A menu that is not assigned to a theme location will not be shown on your site.
Step 1: Create your menu
Go to Appearance > Menus. Where it says “Menu Name” enter a name for your new menu. It could be whatever you like, for example “My Awesome Menu” 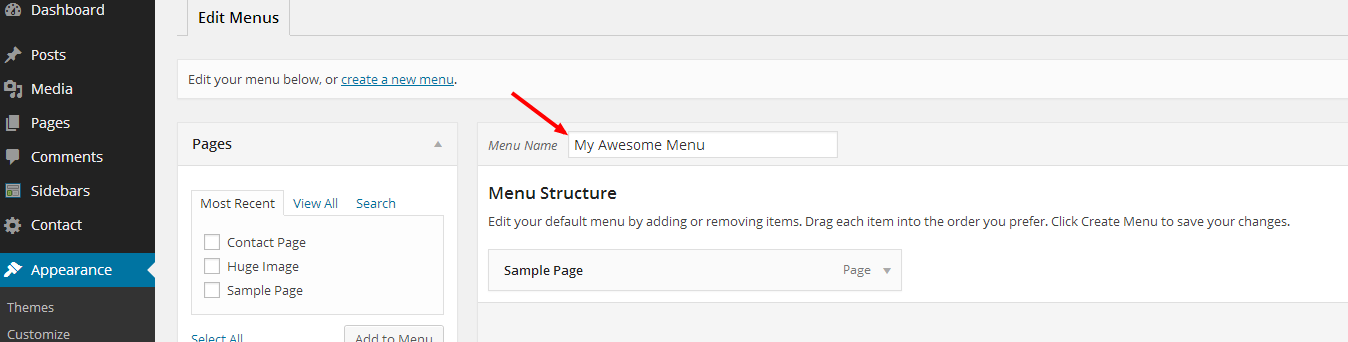
Step 2: Add items to your menu
Now you want to add items to your menu. On the left of your screen, you can choose to add Pages, Links, and Categories. Note that the pages, links, categories, etc must exist already on your site before you will be able to add them to your menu.
Pages and Categories are pretty self-explanatory so we’re not going to explain what those are in detail. One thing to note is that if you don’t see your page listed in the Pages sub menu on the left hand side of the page, switch over to the ‘View All’ tab to ensure that you are seeing a list of all the pages on your site. Check the page or pages that you want to add and click ‘Add to menu’ 
Links allow you to add menu items that will link to any page. To add a link, click on the Links sub section. Enter the URL for the link you want to add – it could be a link to a URL on your site or an external site. Give the link menu item a name and click ‘Add to Menu’. 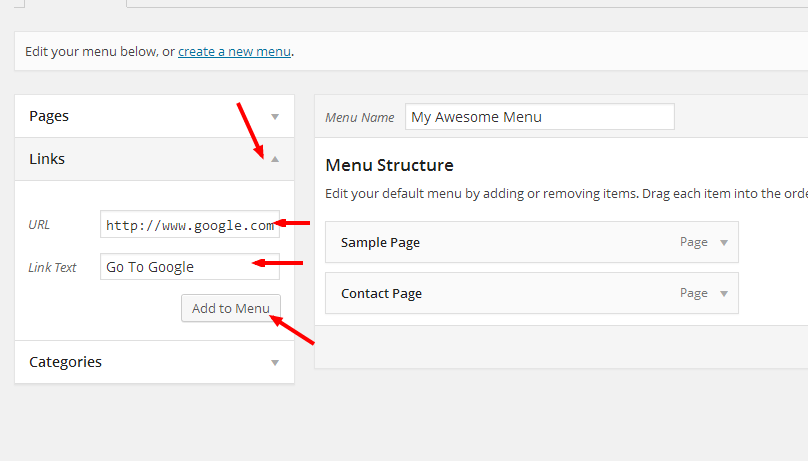
PRO TIP: You can also add posts to your menu, but this ability is disabled by default. To enable it, on the top right of your screen click the ‘Screen Options’, and under ‘Show on screen’ check the ‘Posts’ option. You will now have the posts subsection added on the left hand side of your screen.
Step 3: Rename your menu items
You can rename your menu items if you want. Click on the down arrow on the top right side of the menu item. Once expanded, change the ‘Navigation Label’ to whatever you want the menu item to say. In my case, I changed ‘Sample Page’ to ‘About Me’ 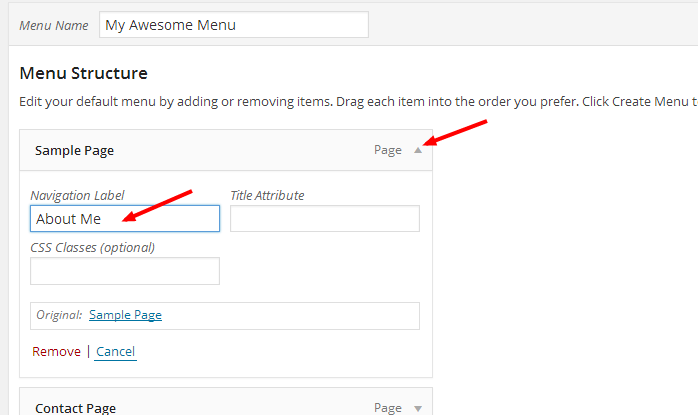 This change will take effect once you save the menu in step 5 (but don’t skip ahead just yet).
Step 4: Reorder and structure your menu, delete unwanted items
You can drag the items into the order you prefer. In the example below, I moved the ‘Go To Google’ item to be first in the menu. 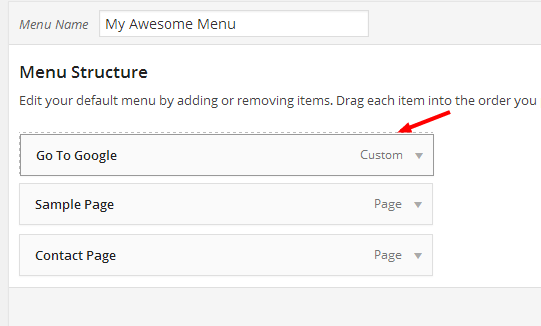
You can designate menu items as sub-levels of each other. In the example below, I have added the ‘Contact Page’ as a sub-item to the ‘Sample Page’. To do this, drag the sub-item below and to the right of the higher level item.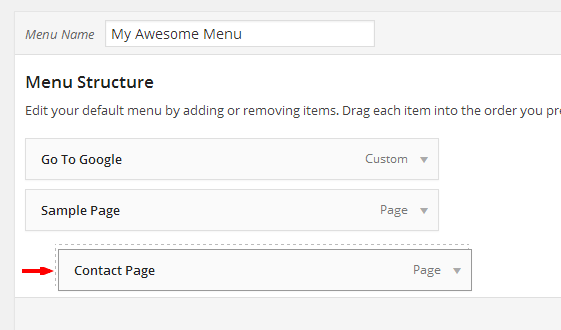
If you want to delete any menu items, you can do so by clicking the down arrow on the top right of the menu item, then clicking the red ‘Remove’ link at the bottom of the expanded item.
Step 5: Save your new menu
First you need to save your menu, then you can make sure it is assigned to the proper location. To save the menu, click the blue ‘Create Menu’ button at the bottom right of the page.
Step 6: Confirm your menu is assigned to the right Theme Location
For the site in my example, there is only one theme location, which is called ‘Navigation Menu’. Therefor, once I created my first menu, which we called ‘My Awesome Menu’, it automatically was assigned to the ‘Navigation Menu’ theme location. Notice how the ‘Navigation Menu’ option at the bottom of the page is now checked for the Theme Locations field. 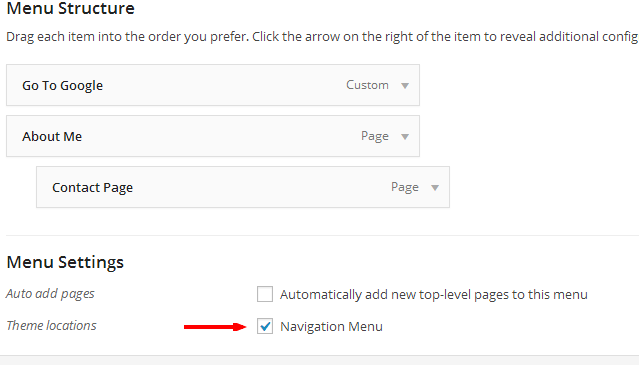 If your theme supports multiple menu locations, there would be other Theme Locations listed here and you could assign the menu to those locations by checking those. You can even assign a menu to multiple locations on your site by checking multiple theme locations. If you uncheck all the theme location options, the menu will be saved for future use but will not be shown anywhere on your site.
Step 7: Creating additional menus and choosing which menu to edit
To create additional menus, click the ‘create a new menu’ link at the top of the page.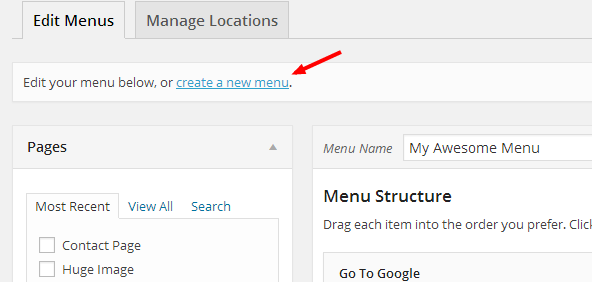 Create a name for your additional menu, and click Create Menu.
You can now create and edit this menu using the same instructions as outlined above in steps 2-6.
To choose a different menu to edit, choose from the ‘Select a menu to edit’ field at the top of the page and click select.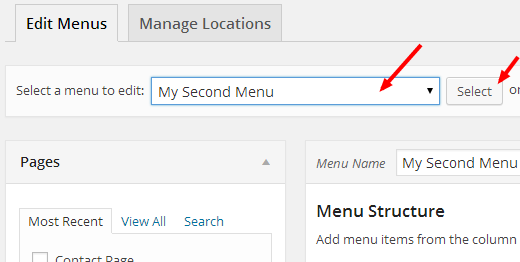
Step 8: Celebrate how awesome you are for learning a skill

That’s it. You now have a solid foundation for how to edit menus in WordPress. There are more advanced things you can do with menus in WordPress, but we’ll save those for another post.
Hope you found this guide helpful and would love to hear from you if you did, or if you any questions or comments.
Related Posts
- Hide My Site
- Get The Web Address Of A Child Theme In WordPress
- How to Set Page Url in WordPress (With Pictures)
- Change Admin Username WordPress
- WordPress Add Allowed File Types
- Cursor Control – A WordPress Custom Cursor Plugin
- Add Class to Body WordPress
- WP Google Fonts
- Smart Recent Comments
- Simple Tooltips