;'>ClevelandWebDeveloper.com</span><br>I enjoy designing and developing websites and have been doing that for 20 years. I also make WordPress plugins.")
So you’ve just purchased your Spacer add-on, but what comes next? Read on to find out.
Step 1. Download zip file
When you complete your purchase, you should receive an email that contains a link to the add-on zip install file. Download this zip file.
If you don’t receive the email, please contact me and I will send it your way. In this same email, your license key will be included. Take note of your license key, you will need it later on.
Step 2. Manually install the plugin zip file
Upload the zip file via WordPress plugin uploader (in your WordPress admin > Plugins > Add New > Upload) and activate it.
Step 3. Enter your license key
You are almost there, but not quite. You first need to enter your license key in your WordPress admin > Settings > Spacer > Licenses (top tab). Remember, the license key is found in your email from step 1.
Step 4. Browse to the new section and enjoy your new add-on!
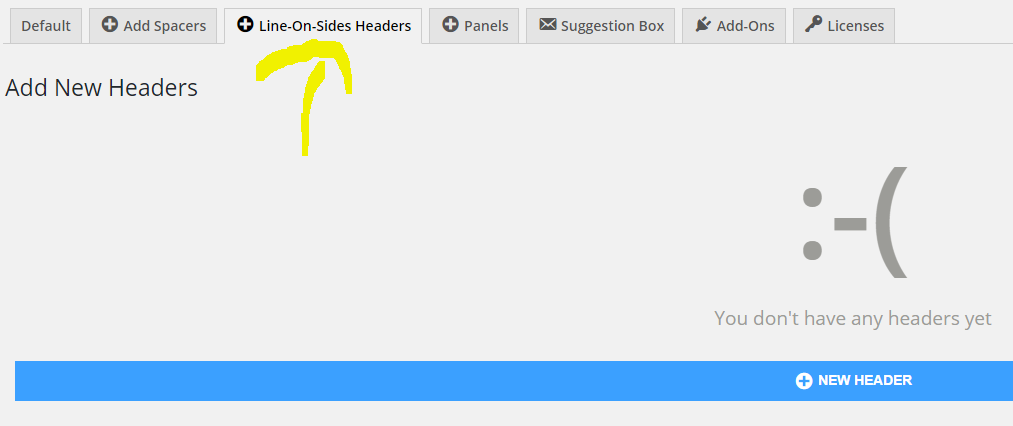
Congratulations, you have successfully installed your Spacer add-on. Cheers to you!
Thanks for taking the time to follow along with this post. Hope you find it helpful. Please let me know if you have any questions or other feedback in the comments.
Related Posts
- Will Spacer be Gutenberg compatible?
- New Panels update allows you to set custom CSS for your panels
- How to download your plugin
- Download receipt option now available for all purchases
- Spacer: Draft It! Add-On
- Access your purchases, downloads, and license keys in the new My Account section
- Including a spacer within a panel
- Spacer: Panels Add-On
- Available line styles for your Line-On-Sides Headers
- Changing the text color for a Line-On-Sides Header