;'>ClevelandWebDeveloper.com</span><br>I enjoy designing and developing websites and have been doing that for 20 years. I also make WordPress plugins.")
There are four different ways that you can apply your background images with Hide My Site, via the Background Image Position field. The four options are Proportional Stretch, Crop to Fit, Stretch and Repeat. Depending on which you choose, your background image will display differently. Note that you have to be using Hide My Site premium in order to edit your background images.
So without any further ado, let’s break down your choices:
Proportional Stretch
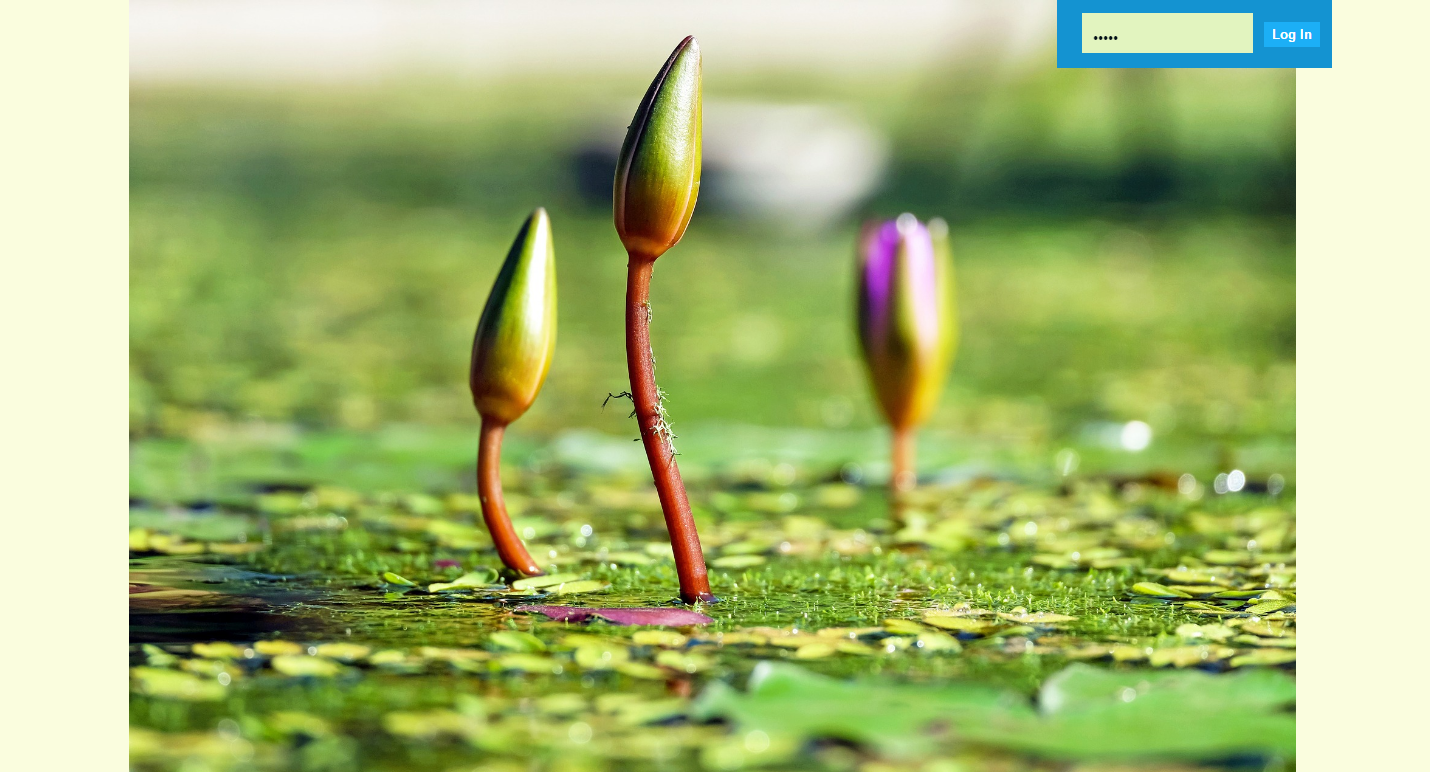
With this option selected, your background image will be stretched to either full height or full width of the login page. If you have an image that is very tall and narrow, it will be stretched to the full height of the page and there will be bars shown on the left and right side of the image. If your image is short and wide, the image will get stretched to the full page width, while the bars will be shown on the top and bottom of the image. Because there will be bars shown along with your background image, you should set the background color to something that complements your image. In my example, I chose a soft shade of yellow which goes nicely with the water lilies.
Crop to Fit

This will stretch your image to the exact dimensions of the page. Some of the image will get cropped out because the page dimensions are usually different than your image dimensions. In the example above, the top and bottom of the image get cropped out because the image is more tall/narrow when compared to the page dimensions.
Stretch
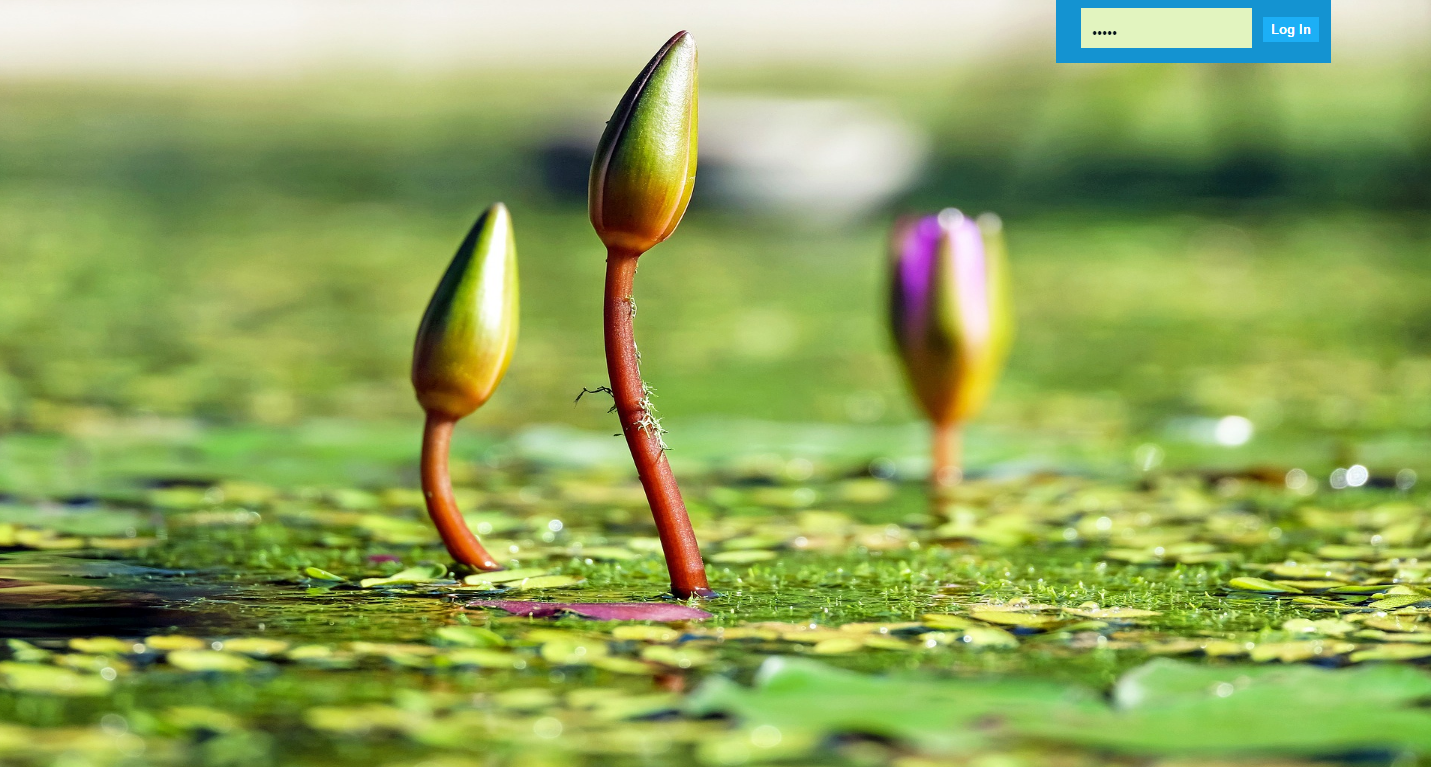
This will also stretch your image to the exact dimensions of the page. However nothing will be cropped out. Rather, the image will distort in order to match the page dimensions. In the case of my example above, the water lilies are getting “smushed” vertically in order to make the image more short/wide.
Repeat
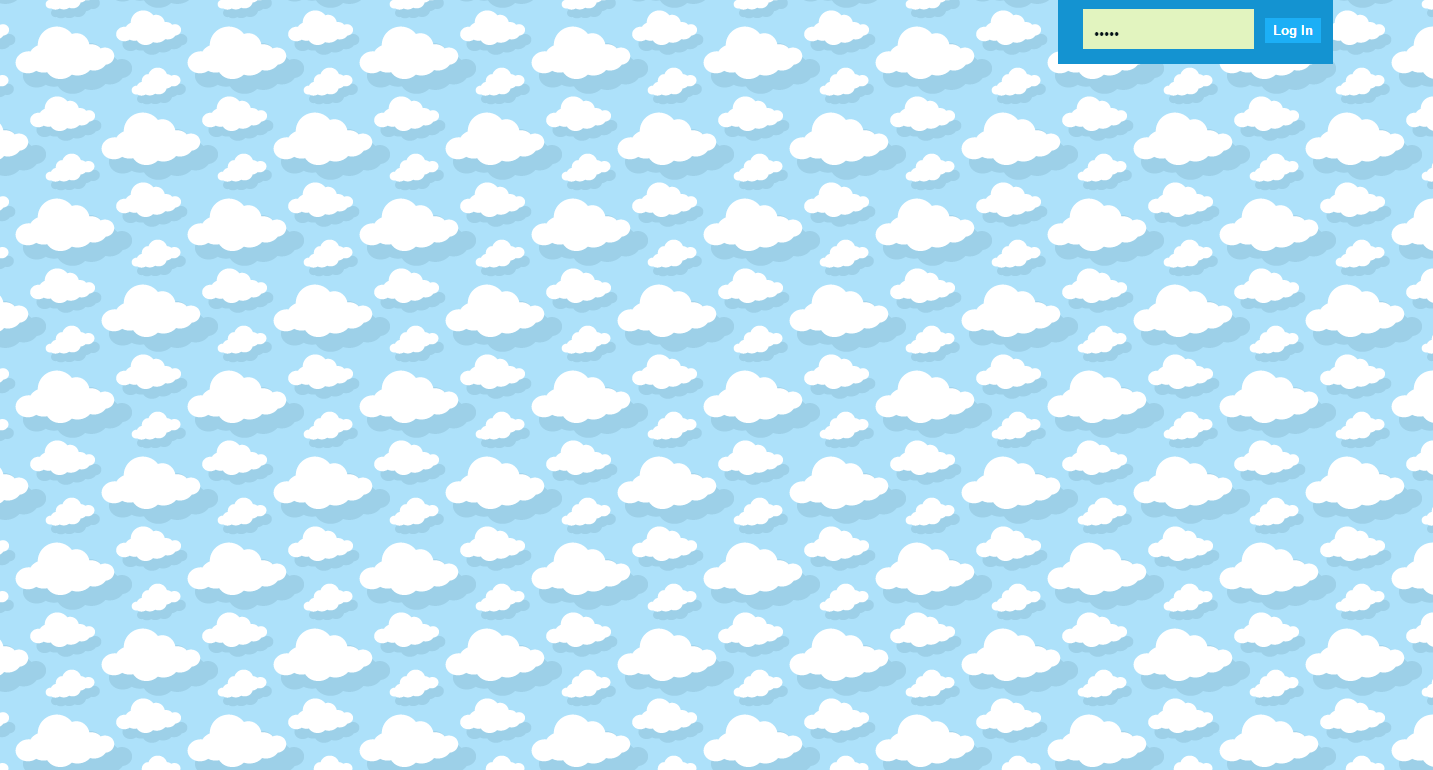
This does not change your image size. Rather, it repeats the original image in the background throughout the entire page. Note that your image should be smaller than the page in order to achieve the repeating effect (if your image is too big there will be no room for it to repeat).
Thanks for taking the time to read this post. Hope you find it helpful. Please let me know if you have any questions or other feedback in the comments.
Related Posts
- Hide My Site Multipass
- Hide My Site Custom Login Page Examples #2
- Hide My Site Custom Login Page Examples
- Hide My Site Bypass URL
- Hide My Site Redirect
- Hide My Site
- New feature added to Multipass – Clear All Logs
- What’s new in Hide My Site version 2.1
- Will Hide My Site be Gutenberg compatible?
- How to add a hyperlink to your Hide My Site login page