;'>ClevelandWebDeveloper.com</span><br>I enjoy designing and developing websites and have been doing that for 20 years. I also make WordPress plugins.")
If you are interested in changing the color on a Hide My Site form, you have come to right place. This short tutorial is also useful if you are looking to change the form images to say something in a different language. For example, if you wanted to change the “Password Protected” text at the top of the login form to say something in your own language. Note that you will have to be using the premium version of Hide My Site in order to follow along with this tutorial.
Here is a quick walk-through outlining the process.
Step 1. Examine the initial login page
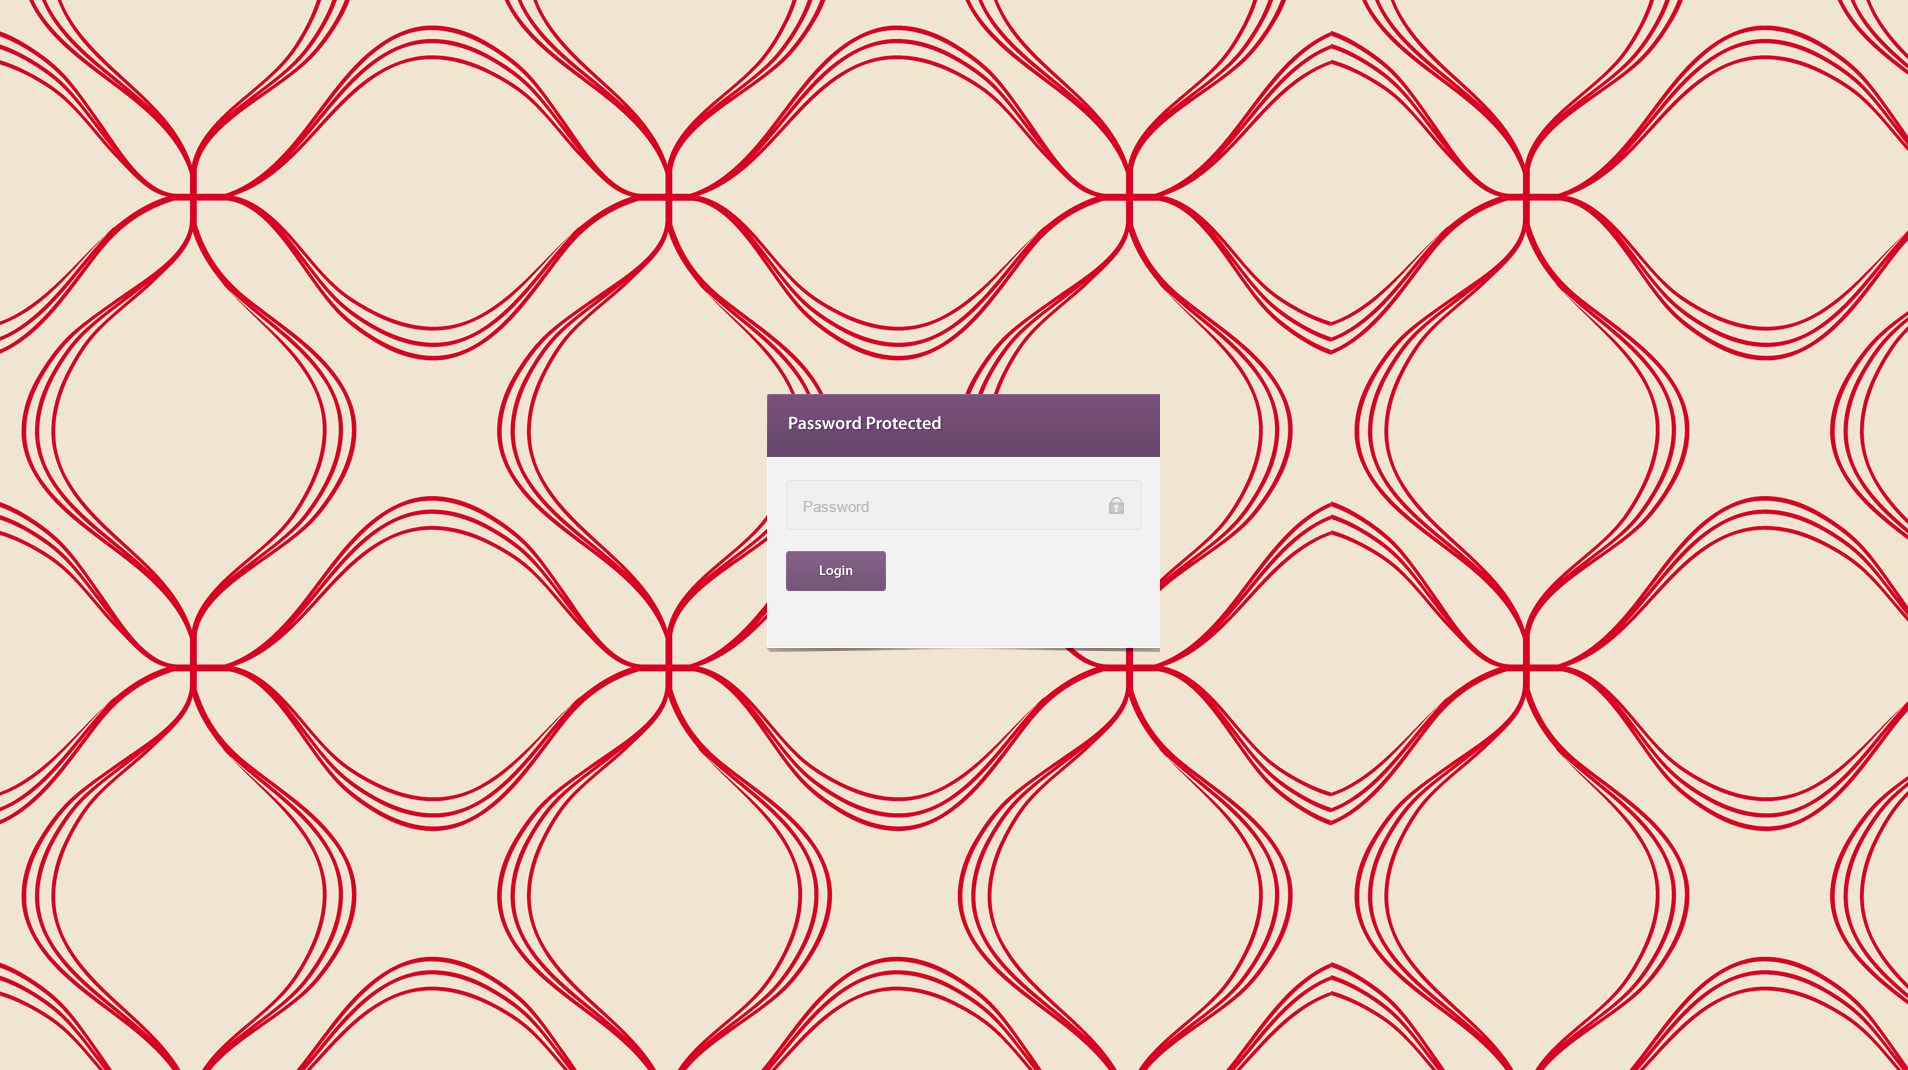
In my case, I initially changed the background image to a nice repeating pattern with reds and browns. This looks good, but now I want to change the form colors to match.
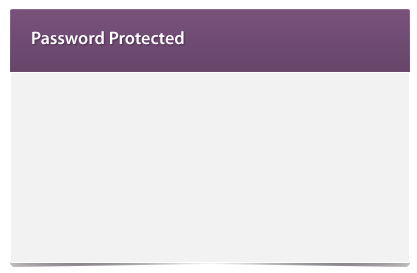
Step 2. Download the form background image. Use a photo editor to change it to something that matches your desired look
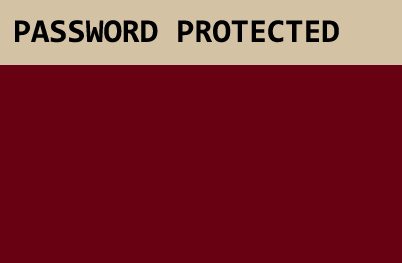
I changed this to:
Step 3. Do the same for the login button
![]()
I changed this to:
![]()
Step 4. Upload your new images via WordPress Media upload. Then add the following CSS changes…
Enter this in your WordPress admin > Settings > Hide My Site > Custom CSS:
|
1 2 3 4 5 6 |
#form_wrap { background: url(http://www.mysite.com/newformimage.jpg) no-repeat !important; } #form_wrap button{ background:url(http://www.mysite.com/newloginbutton.jpg) no-repeat top !important; } |
Note the !important at the end of each background property. This is needed to override the original CSS for the login page, so don’t forget that part 🙂
Step 5. Admire your final product
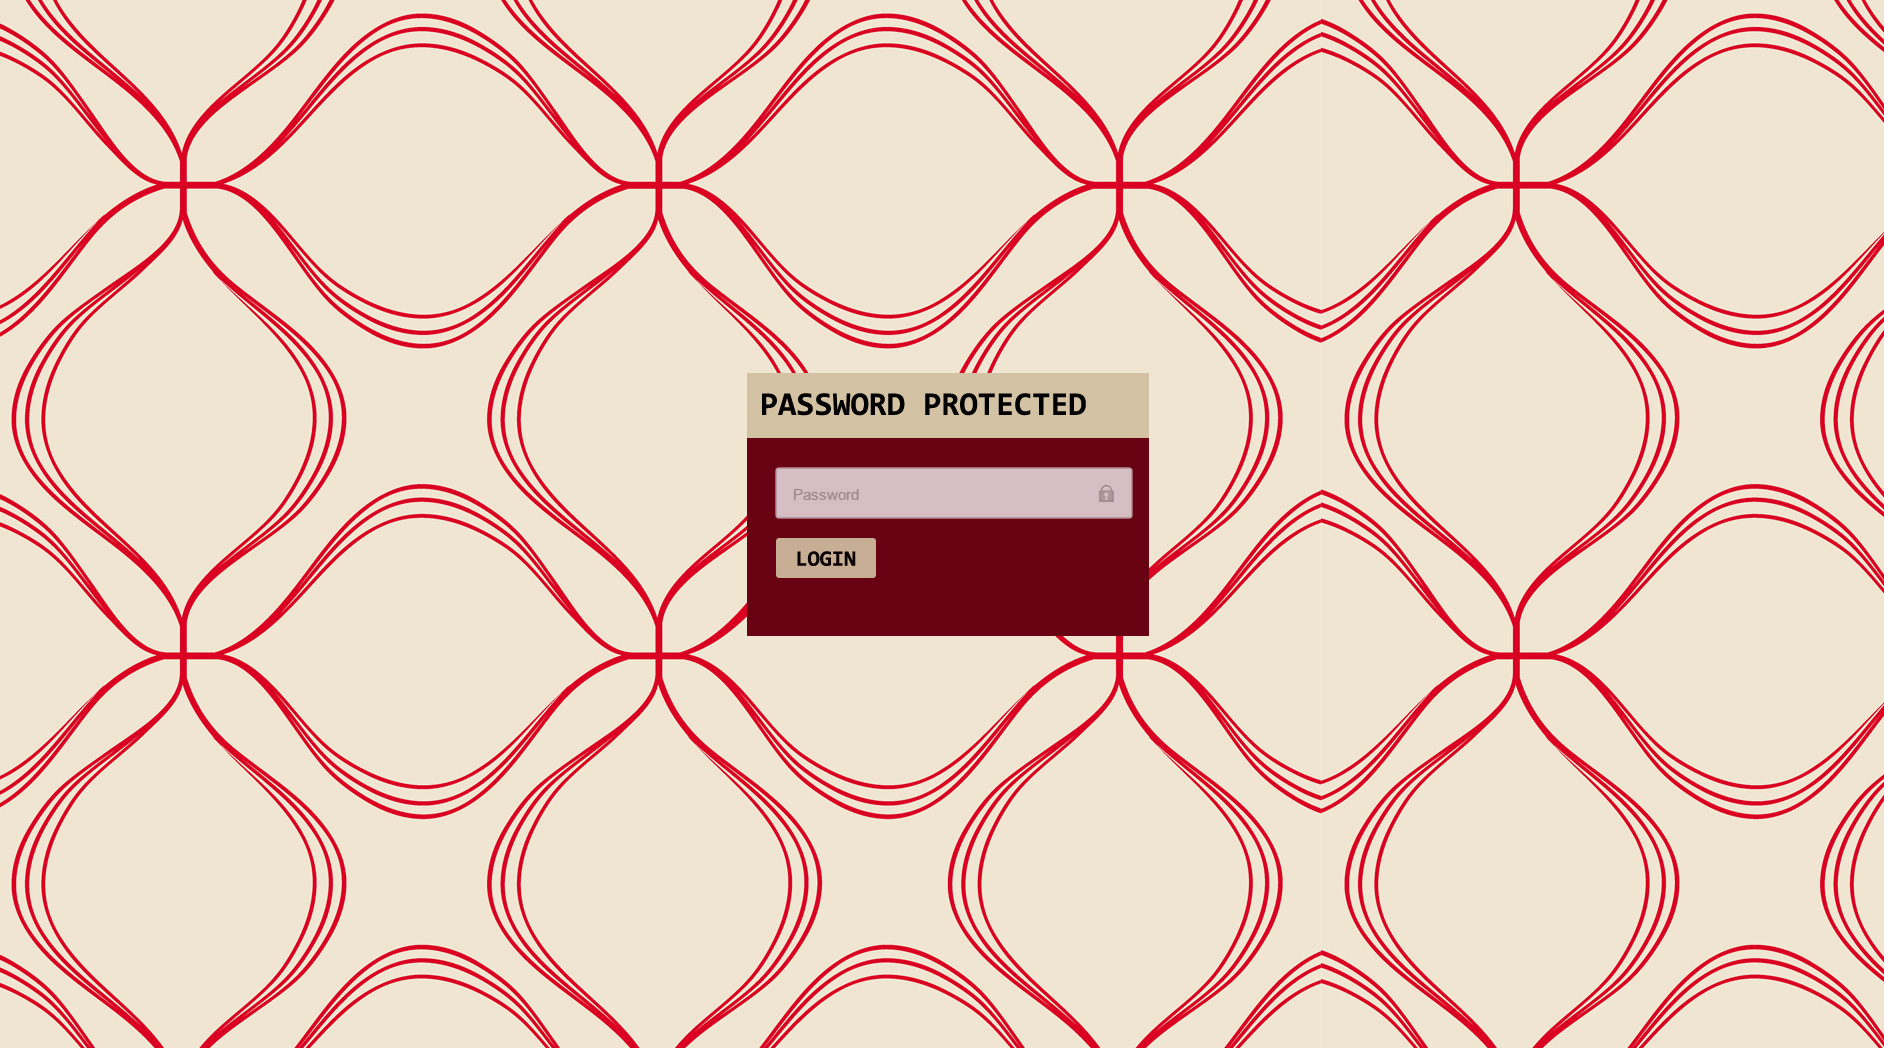
The newly styled login form is much more in sync with our custom background pattern. Hurray for matching!
Thanks for taking the time to follow this tutorial. Hope you find it helpful. Please let me know if you have any questions or other feedback in the comments.
Related Posts
- Hide My Site Multipass
- Hide My Site Custom Login Page Examples #2
- Hide My Site Custom Login Page Examples
- Hide My Site Bypass URL
- Hide My Site Redirect
- Hide My Site
- New feature added to Multipass – Clear All Logs
- What’s new in Hide My Site version 2.1
- Will Hide My Site be Gutenberg compatible?
- How to add a hyperlink to your Hide My Site login page